A flawless gel manicure is about more than just applying color. It’s a system of tools, products, and careful preparation that turns a good manicure into one that lasts. Here‘s a professional’s guide to the essential equipment and products, from preparation to the final cure.
Nail Surface Preparation Tools: The Foundation of Long Wear
The most important step in any gel manicure happens before the first drop of polish touches your nail. In fact, experts agree that up to 80% of the success of a gel manicure depends on proper prep.
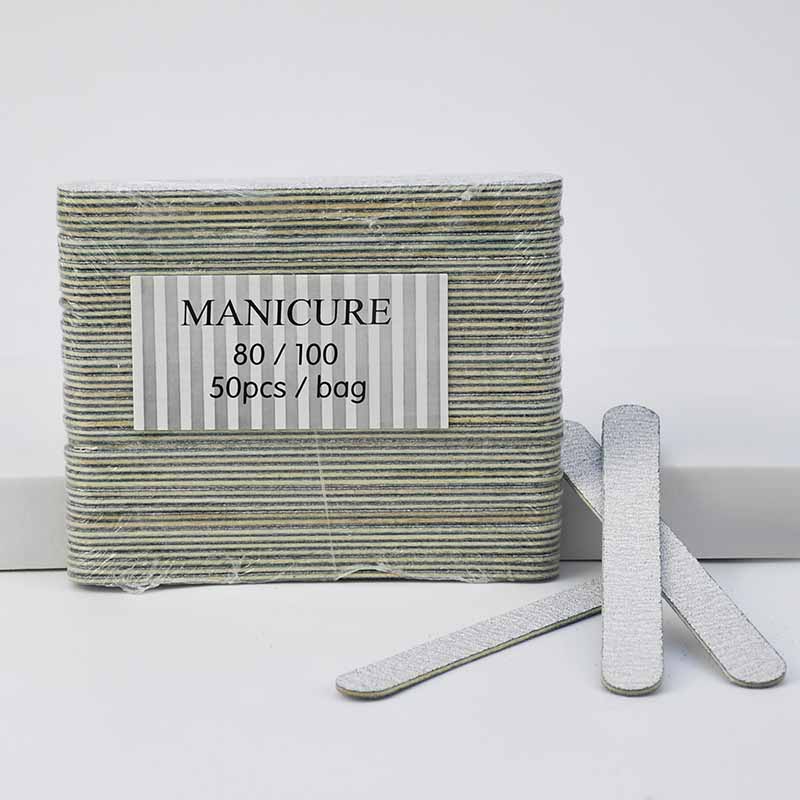
Start with a 180-grit nail file to shape the free edge and shorten nails. This grit is coarse enough to shape both natural nails and enhancements. Always file in one direction—sawing back and forth creates micro-tears that lead to peeling and splitting. For natural nails, a 240-grit file is gentler for smoothing edges after shaping.
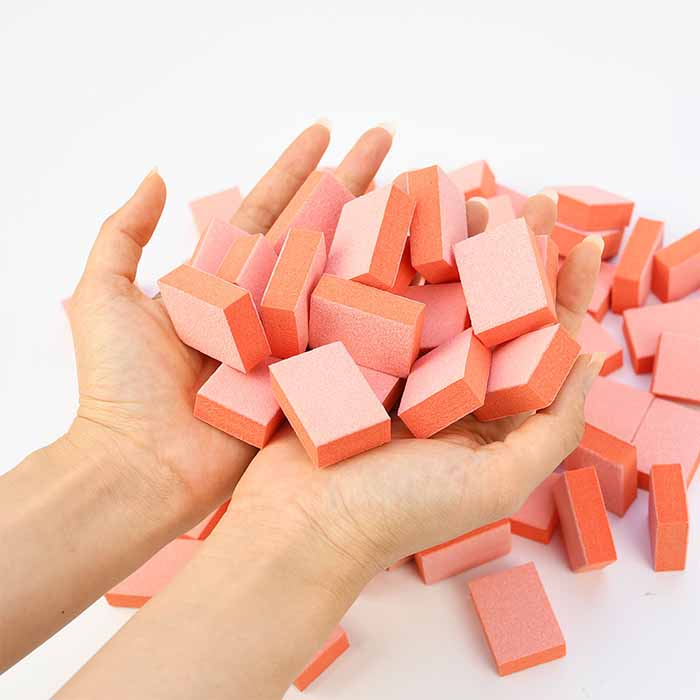
Next, use a fine buffer block (240-400 grit) to gently remove the natural shine from the nail plate. You’re not thinning the nail—you’re creating a slightly textured, matte surface for the gel to grip. Two to three light passes are enough. Over-buffing weakens the nail.
A cuticle pusher (metal or wooden) and cuticle nippers are essential for clearing the nail plate. Push back the proximal nail fold gently, working from the center outward. Use nippers only to trim loose, dead skin flaps—never living tissue. Any cuticle residue left on the nail plate acts as a barrier, preventing proper adhesion.
Finally, lint-free wipes and a nail dehydrator (or 91%+ isopropyl alcohol) remove all oils, dust, and moisture. After this step, do not touch your nails. Even natural oils from your fingertips can cause lifting.
Gel Application: Products and Equipment
With the nail plate prepared, the actual gel application begins. The system typically involves three core products and a curing lamp.
Base coat is the adhesive layer. It creates a chemical bond between your natural nail and the subsequent layers. Apply a thin, even coat, capping the free edge (swiping the brush along the nail tip). The base coat should never flood the cuticle or sidewalls—any gel on skin will lift within days.
Color gel is the pigmented layer. The golden rule for gel application is thin layers only. Two to three thin coats produce a smooth, durable finish; one thick coat will wrinkle, bubble, and peel. Cure each color layer fully before applying the next.
Top coat is the protective shield. It provides high-gloss shine, scratch resistance, and an extra layer of durability. Like every other layer, apply it thinly and cap the free edge.
A high-quality gel brush (usually included with the polish or purchased separately) makes a significant difference. Professional brushes have synthetic, densely packed bristles that hold just the right amount of product and create smooth, streak-free application.
UV/LED Lamps: The Cure That Makes It All Work
Gel polish contains photoinitiators—molecules that react to specific wavelengths of ultraviolet light. When you place your hand under the lamp, these molecules trigger a chemical reaction called polymerization, transforming liquid gel into a solid, durable polymer. Without this step, the gel stays wet forever.
LED lamps cure faster (30–60 seconds per layer) and their bulbs last for years, making them the most popular choice for home use. UV lamps are slower (2 minutes per layer) and require bulb replacement every few months, but they are compatible with a broader range of older gel formulas.
A professional-grade lamp should have at least 36 watts of power (for UV) or multiple LEDs arranged to cover all five fingers evenly. Look for lamps with reflective interiors (aluminum or mirror coatings) that distribute light uniformly, preventing “dead zones” where edges remain uncured. For the most consistent results, use the lamp recommended by your gel brand—they are matched to the specific photoinitiators in that product line.
Products That Extend Wear
A few additional products can significantly prolong your gel manicure.
Nail primer (sometimes called “bonder”) is applied after the dehydrator and before the base coat. It acts like double-sided tape, forming a chemical link between the nail plate and the gel system. It is particularly useful for clients with naturally oily nail beds.
Rubber base coats are a more flexible alternative to standard base coats. They move with the natural nail, reducing the stress that causes lifting at the edges, especially on thin or bendy nails.
Strengthening top coats incorporate ingredients like calcium or keratin to reinforce the nail plate while providing the usual glossy finish. These are ideal for clients with weak, peeling nails.
Cuticle oil is not a curing product, but it is essential for maintaining the manicure. Daily application keeps the surrounding skin flexible and prevents brittleness, which reduces lifting at the edges.
Cuticle and Aftercare: The Final Step
Cuticle care does not stop after the manicure is finished. Nourished cuticles keep the protective seal intact and reduce the risk of lifting and infection.
Apply a cuticle oil rich in jojoba, almond, or vitamin E at least twice daily—morning and night. The oil hydrates the nail matrix, promotes healthy growth, and keeps the skin around the nail flexible. Massage a drop into each cuticle and under the free edge.
For intensive repair, apply a cuticle balm or thick hand cream before bed and wear cotton gloves overnight. This deeply conditions the cuticle area and prevents the dryness that leads to hangnails.
Between manicures, avoid picking at the cuticle area or cutting the proximal nail fold. Cutting living tissue can cause infection and disrupt future nail growth. Instead, gently push cuticles back after a shower, when the skin is soft.
The Bottom Line
A professional gel manicure is a system. Preparation tools create the foundation. Base and top coats provide adhesion and protection. Quality lamps ensure thorough, even curing. Extender products add flexibility and strength. And daily cuticle oil keeps the whole structure healthy and long-lasting. When every component works together, the result is a chip-resistant, high-shine manicure that looks fresh for two to three weeks—and a natural nail that stays healthy underneath.
Read also: Nail Strengthening: How to Transform Weak, Brittle Nails Into Strong, Healthy Ones