A beautiful manicure can boost your confidence and add a touch of polish to any look. However, with so many options available, it is easy to feel confused by the choices. The most common dilemma is deciding between regular nail polish and gel nail polish. While they may look similar in the bottle, these two products are fundamentally different. This article explains the differences, the benefits of choosing gel, and how to apply it correctly for a flawless, long-lasting finish.
The Core Difference: Chemistry and Drying
The primary difference between regular and gel polish lies in how they harden. Regular nail polish is made from polymers, like nitrocellulose, dissolved in solvents. When you paint it on your nail, the solvents evaporate into the air, leaving the colored film behind. This is why you have to wave your hands dry and wait for it to “set.” This type of manicure is prone to chipping, usually lasting only a few days.
Gel polish, on the other hand, uses a different chemistry. It contains monomers and photoinitiators. These molecules do not dry by evaporation. Instead, they harden through a process called polymerization, which is triggered by a UV or LED lamp. The light activates the photoinitiators, which then link the monomers together to form a hard, durable polymer coating. Because it doesn’t rely on evaporation, gel polish won’t shrink and creates a much tougher surface.
Why Choose Gel Polish?
Given its different chemistry, gel polish offers several distinct advantages over regular nail polish.
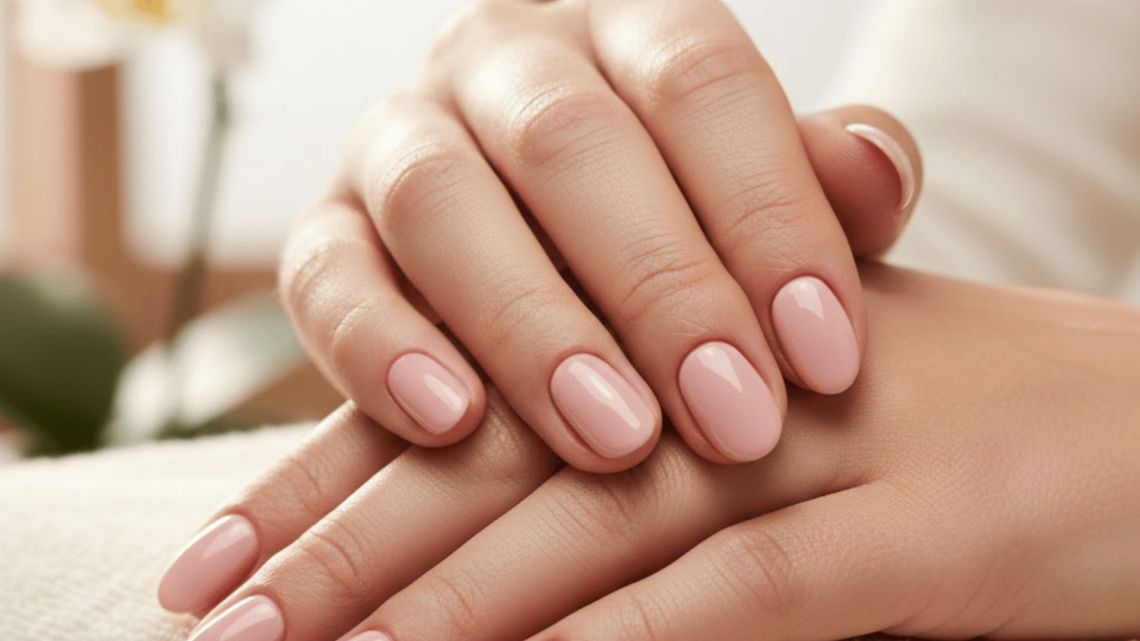
- Unmatched Durability and Longevity: The main reason people switch to gel is its incredible staying power. While a regular manicure might last a day or two before showing wear, a gel manicure can last two to three weeks without chipping or fading. The polymer network formed during curing is simply much stronger than an evaporated film.
- Instant Drying and Smudge-Proof Finish: With regular polish, the risk of smudging a freshly painted nail lingers for hours. Gel polish cures in seconds under a lamp. Once you’ve completed the curing cycle, the polish is completely hard, allowing you to resume your activities immediately without worry.
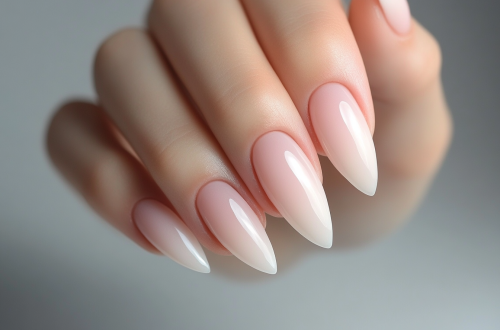
- High-Gloss, Professional Shine: Gel polish provides a smooth, glossy finish that often looks more professional than regular polish. This shine remains consistent throughout the entire wear, whereas regular polish can dull over time.
However, it’s important to note the trade-offs. Gel is more expensive and more difficult to remove, requiring a soak in acetone. Dermatologists also warn about cumulative UV exposure during curing and the risk of allergic reactions to methacrylates, so applying sunscreen to hands before a session is a wise precaution.
How to Correctly Apply Gel Nail Polish?
Achieving a long-lasting gel manicure depends entirely on proper application. Skipping steps will lead to peeling and lifting. Here is a step-by-step guide.
Phase 1: Nail Preparation
This is the most critical stage for adhesion.
1. Push Back Cuticles: Gently push back the cuticles using a cuticle pusher or an orange stick. The cuticle is the nail’s natural seal, and if polish gets on it, it will cause the manicure to lift prematurely.
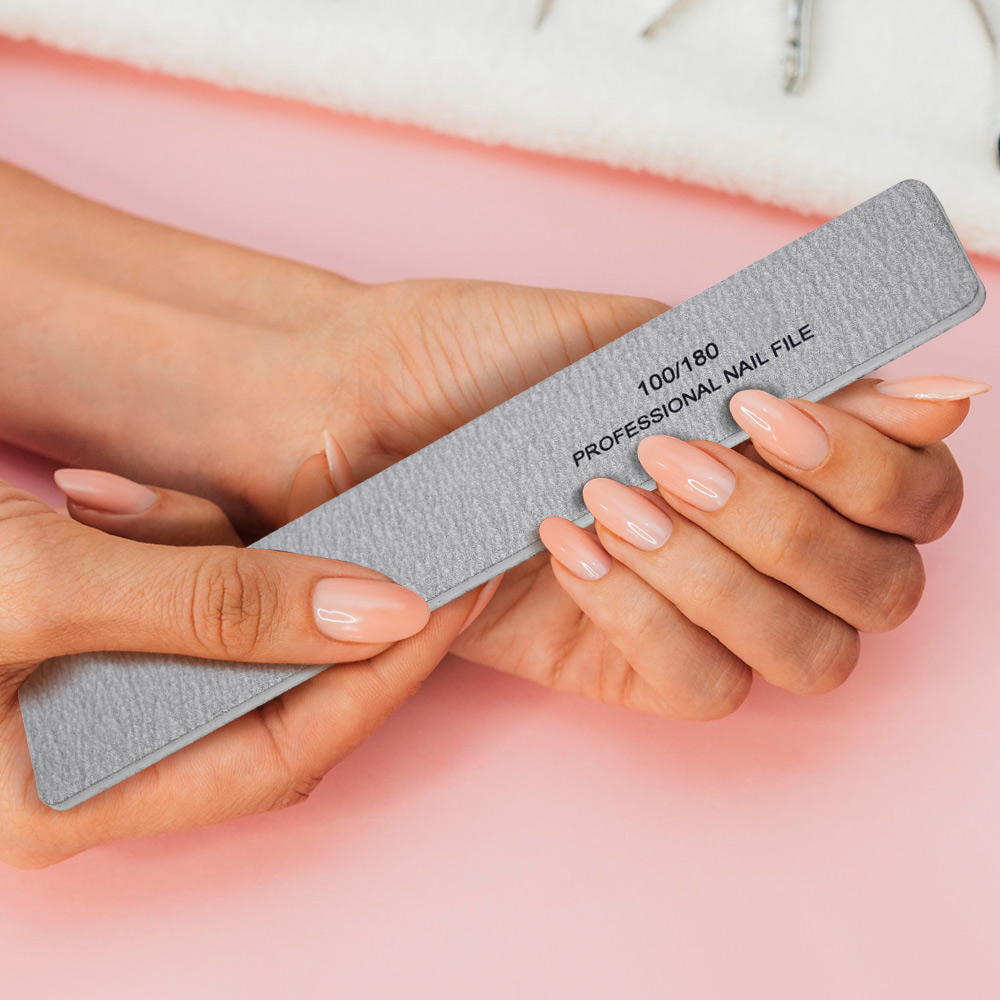
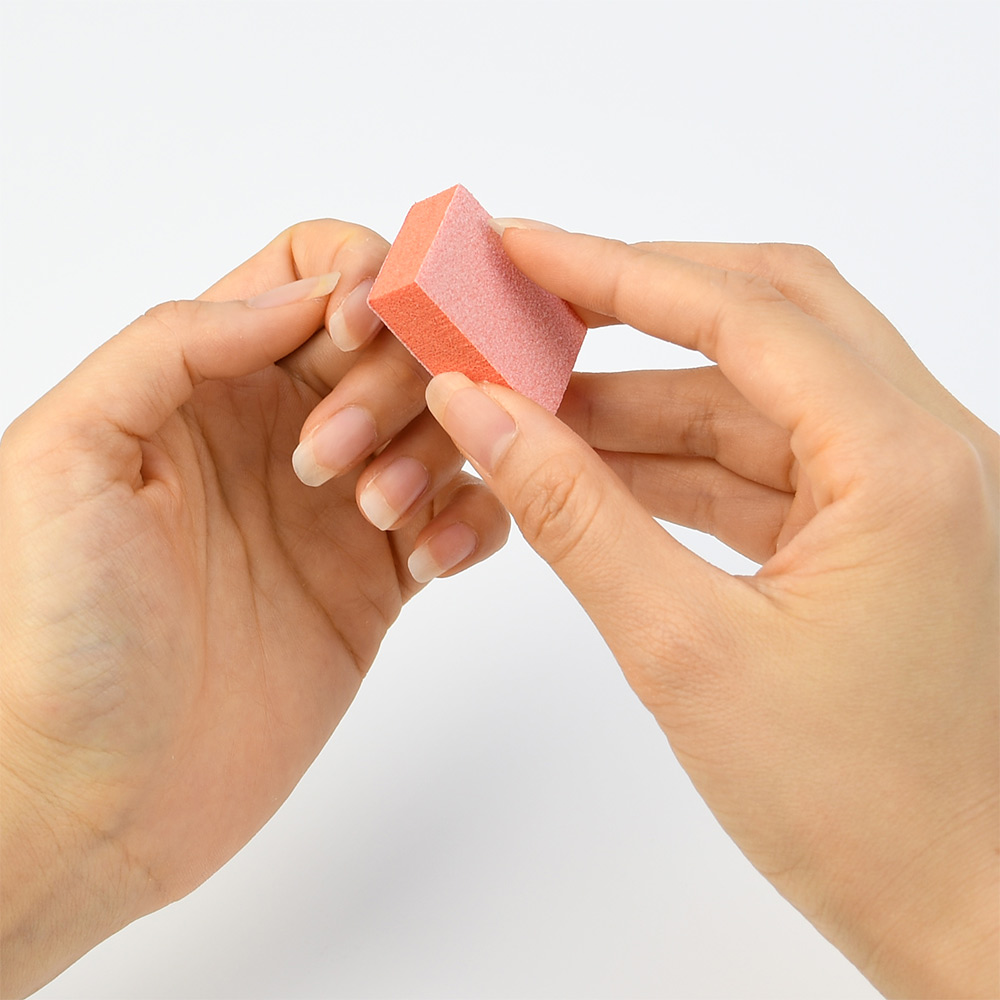
2. Buff the Surface: Lightly buff the surface of each nail with a 180-grit nail buffer. This removes the natural shine and creates a slightly rough texture for the gel to grip onto. Be gentle—over-buffing can thin the nail plate.
3. Cleanse the Nail: Use a lint-free wipe soaked in alcohol or a specialist nail cleanser to remove all dust, oil, and moisture. The nail plate must be perfectly clean and dry before any product is applied.
Phase 2: Application
1. Apply a Base Coat: Apply a thin, even layer of base coat. Be careful to avoid the skin and cuticles. Seal the free edge (the tip of the nail) by running the brush along it. Cure this layer under your lamp according to the manufacturer’s instructions (typically 30-60 seconds for LED, 120 seconds for UV).
2. Apply Color Coats: Apply your first coat of gel color. Again, keep the layer thin—thick layers will wrinkle or not cure properly. Seal the free edge. Cure the layer. Apply a second thin coat of color and cure again. For some sheer colors, a third coat might be needed.
3. Apply a Top Coat: Apply a thin layer of top coat, sealing the free edge one last time. This provides the gloss and protects the color. Cure it fully.
4. Wipe the Sticky Layer: After curing the top coat, some gels leave a sticky inhibition layer. Use a lint-free wipe with a little alcohol or cleanser to wipe each nail, revealing the final high-shine finish.
How to Extend the Life of Your Manicure?
Once you have a perfect gel manicure, you will want to keep it looking great for as long as possible.
- Keep Thin Layers: Always remember that thin layers cure better and adhere more strongly than thick, gloppy ones. They are also less likely to lift at the edges.
- Cap Those Free Edges: “Capping” means sweeping the brush across the very tip of your nail with every layer—base, color, and top coat. This seals the manicure, preventing water and bacteria from getting underneath and causing peeling.
- Avoid Water and Harsh Chemicals: Water is the enemy of nail adhesion. Avoid soaking your nails for long periods. When doing dishes or cleaning with harsh chemicals, wear rubber gloves to protect your manicure.
- Oil Your Cuticles Daily: Apply cuticle oil every day. This keeps the nail flexible and healthy. A flexible nail is less likely to bend and crack the hard gel layer on top. It also prevents the skin from drying out and lifting the edge of the polish.
By understanding the science and following these simple steps, you can enjoy a beautiful, chip-free manicure that lasts for weeks.
Read also: The Russian Manicure: A Deep Dive into the Art of Precision